About the Locations window
Locations are a great way to organize work and data within Manifest. While typically, a Location is a physical location – such as a specific plant, a discrete part of a facility, or a geographical location such as a city, Locations can also be used to segment different groups within the domain. Since both Assets and Work are associated with a specific Location, Locations provide a structured way to organize this data.
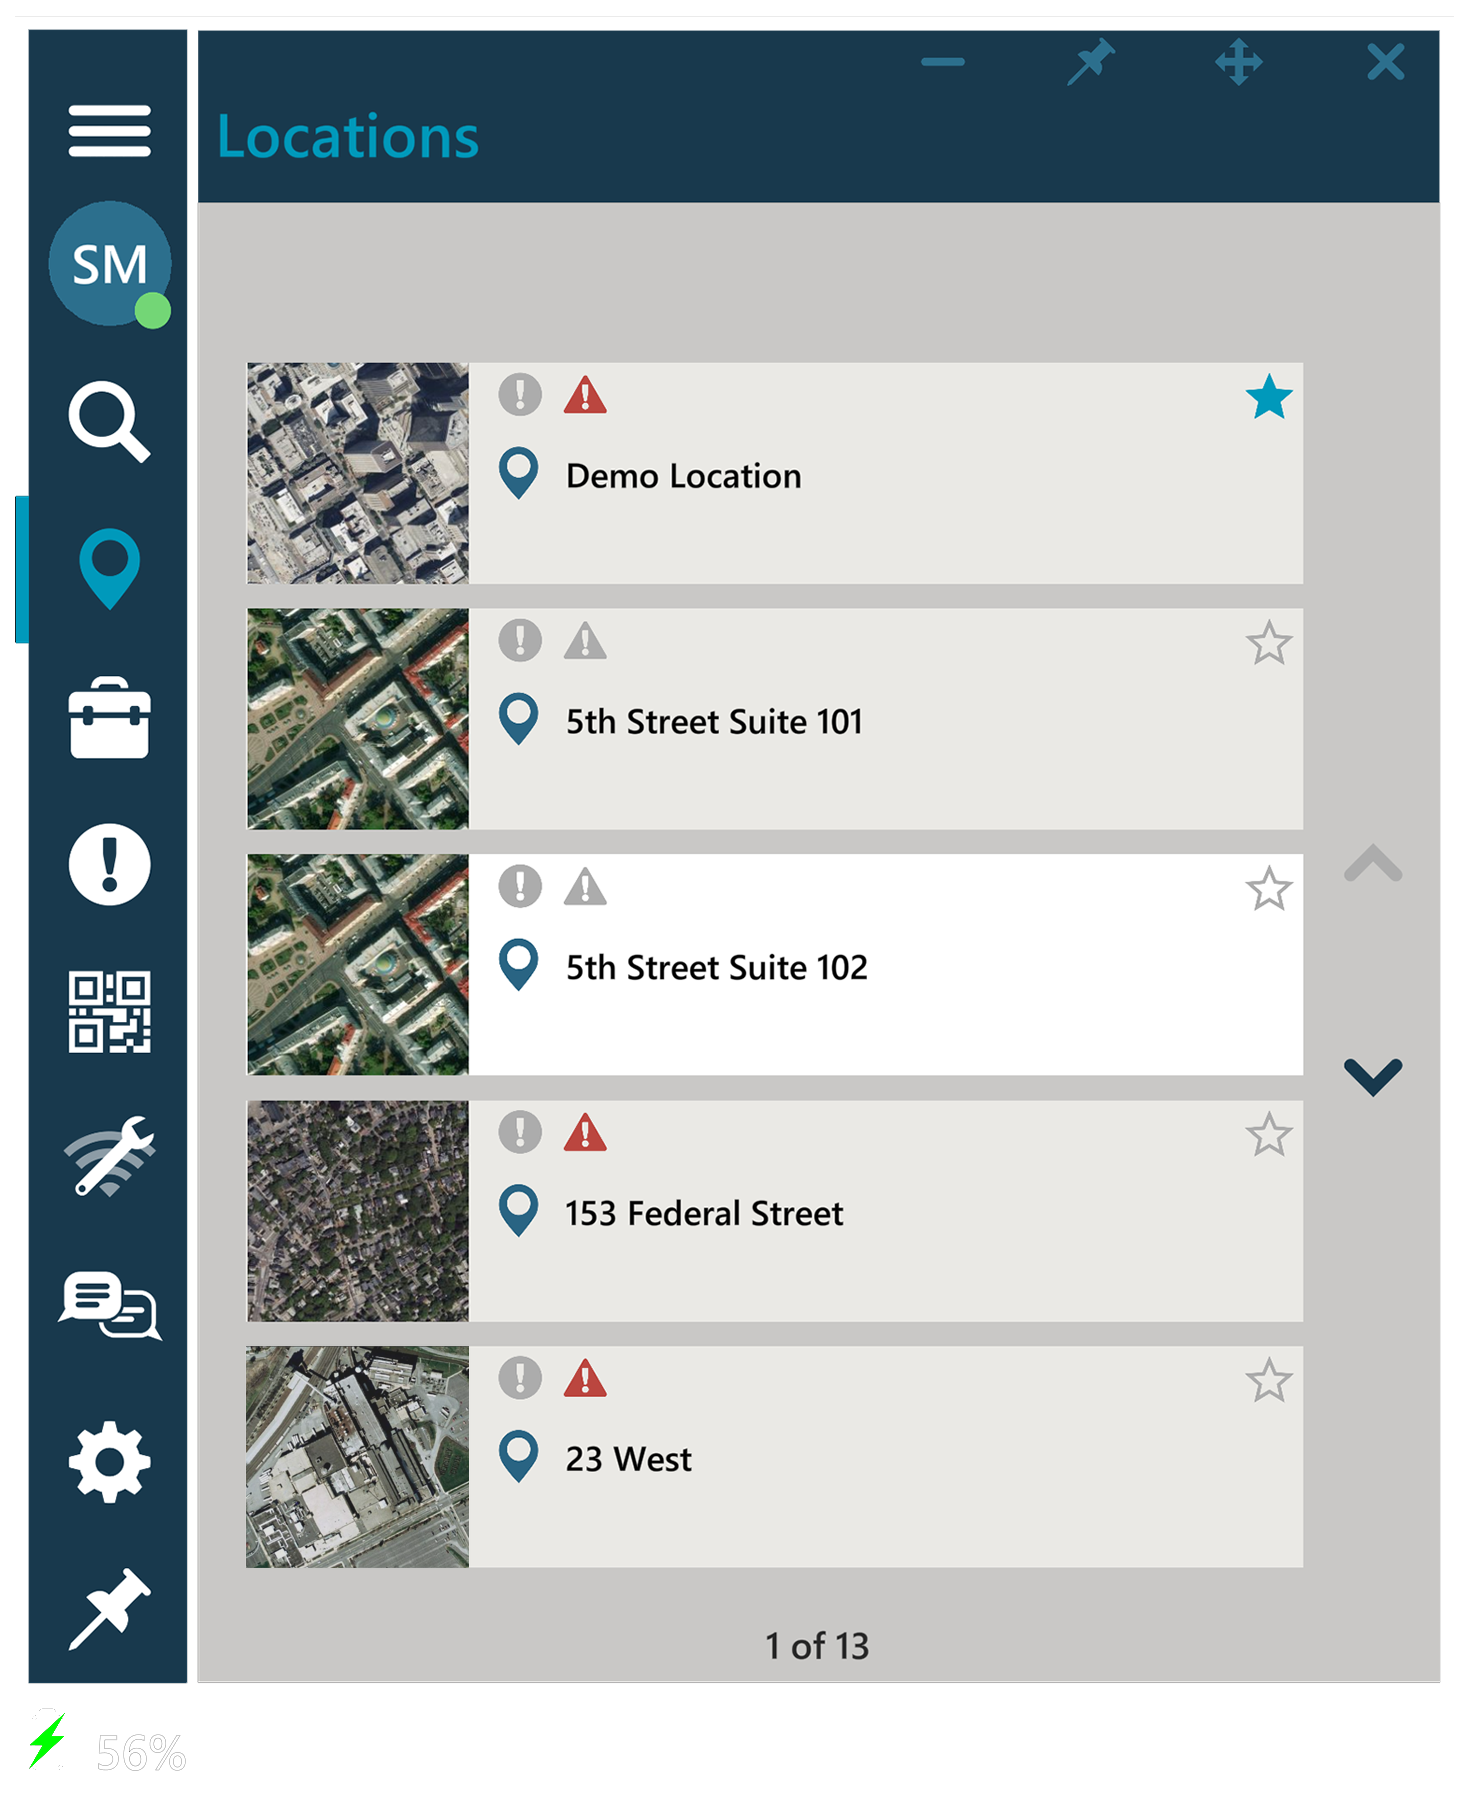
The Locations window is a single view that displays a list of all Parent Locations configured for the Manifest domain. Each Location can be selected for additional details.
Using the Locations window
The Locations window loads a list of all Parent Locations. Child Locations can be viewed from the Location detail window.
Locations which the user has favorited will load first and have a solid blue star ![]() to indicate they are a ‘Favorite’, otherwise Locations are shown in alphabetical order. Users can favorite a Location by selecting the star in the Location listing or the one in the Location detail window header.
to indicate they are a ‘Favorite’, otherwise Locations are shown in alphabetical order. Users can favorite a Location by selecting the star in the Location listing or the one in the Location detail window header.
Each Location listing contains two icons in the upper-left hand corner – one for ‘Fault’ ![]() and one for ‘Alerts’
and one for ‘Alerts’ ![]() . By default, the icons will appear in gray. If there are current Faults or Alerts at a Location, these will display as red. Additional detail can be accessed via the Location detail view.
. By default, the icons will appear in gray. If there are current Faults or Alerts at a Location, these will display as red. Additional detail can be accessed via the Location detail view.
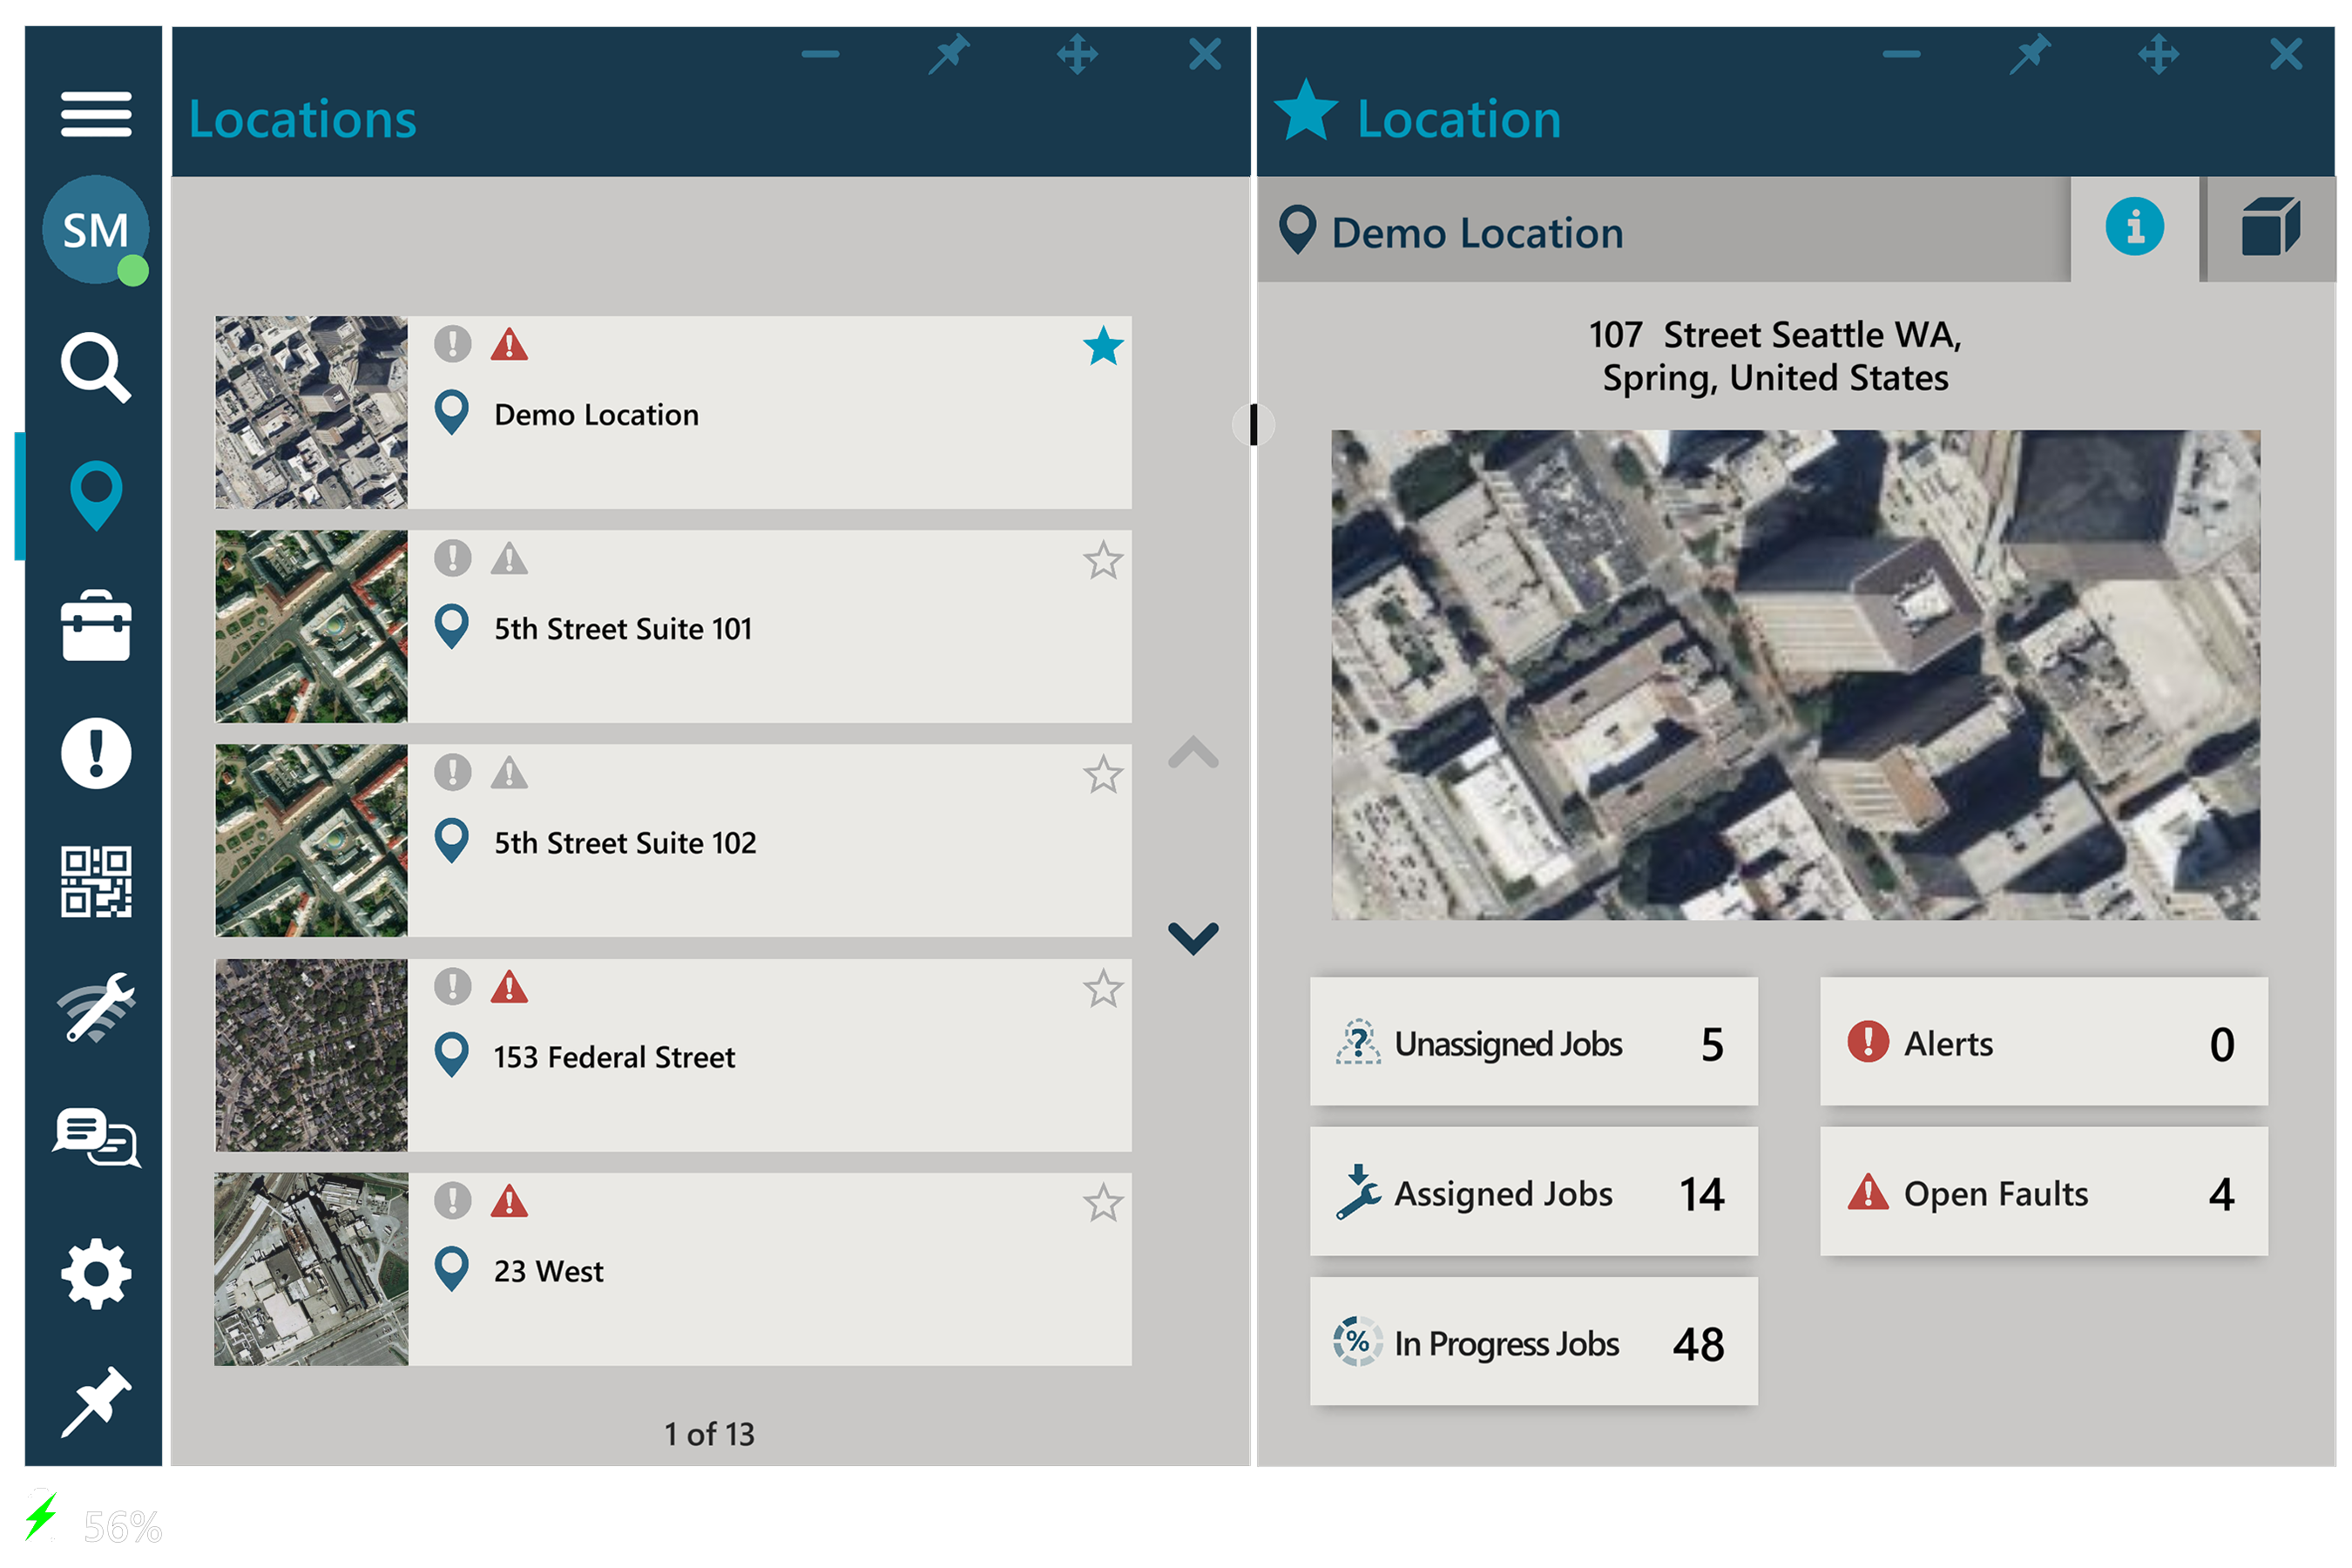
Select any Location to load the Location detail window.
Location detail window
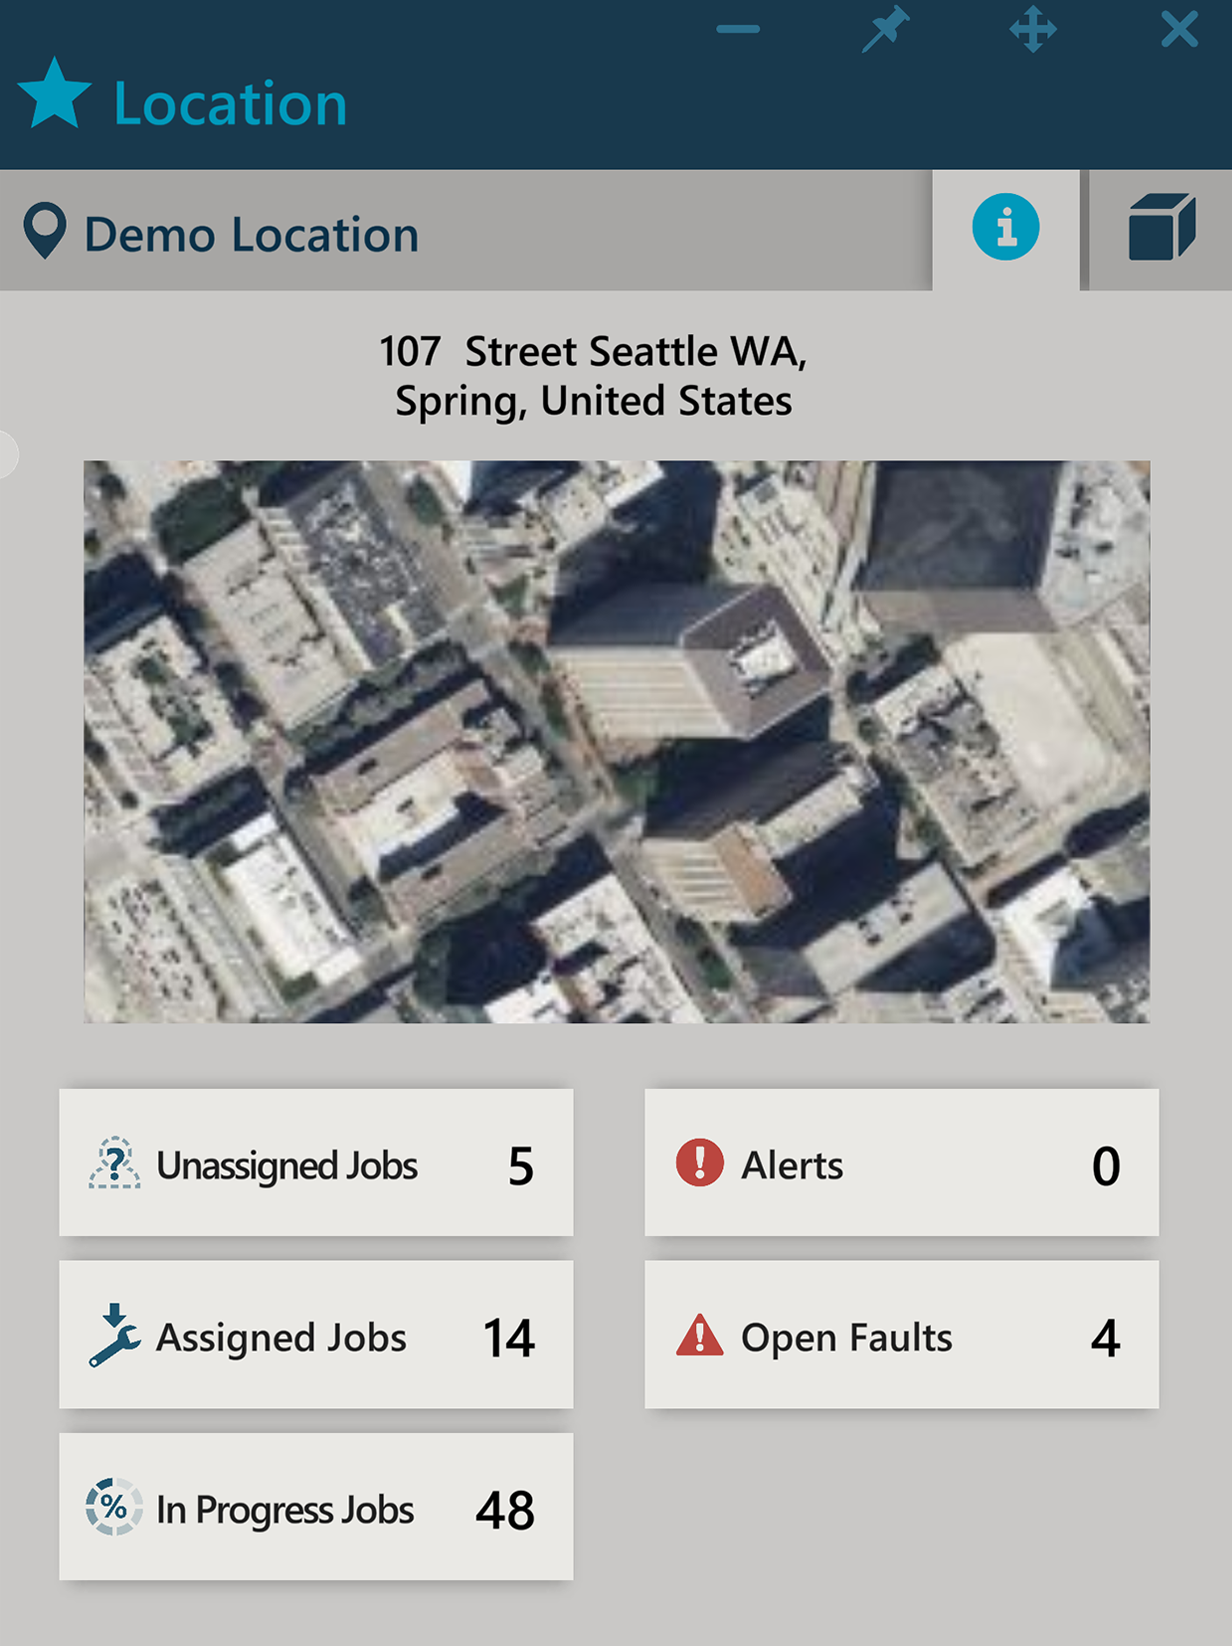
The Location detail includes the address as well as summary level data about Work, Alerts, and Open Faults. A full list of Assets registered at a Location can be accessed from the Assets tab in the Location detail window.
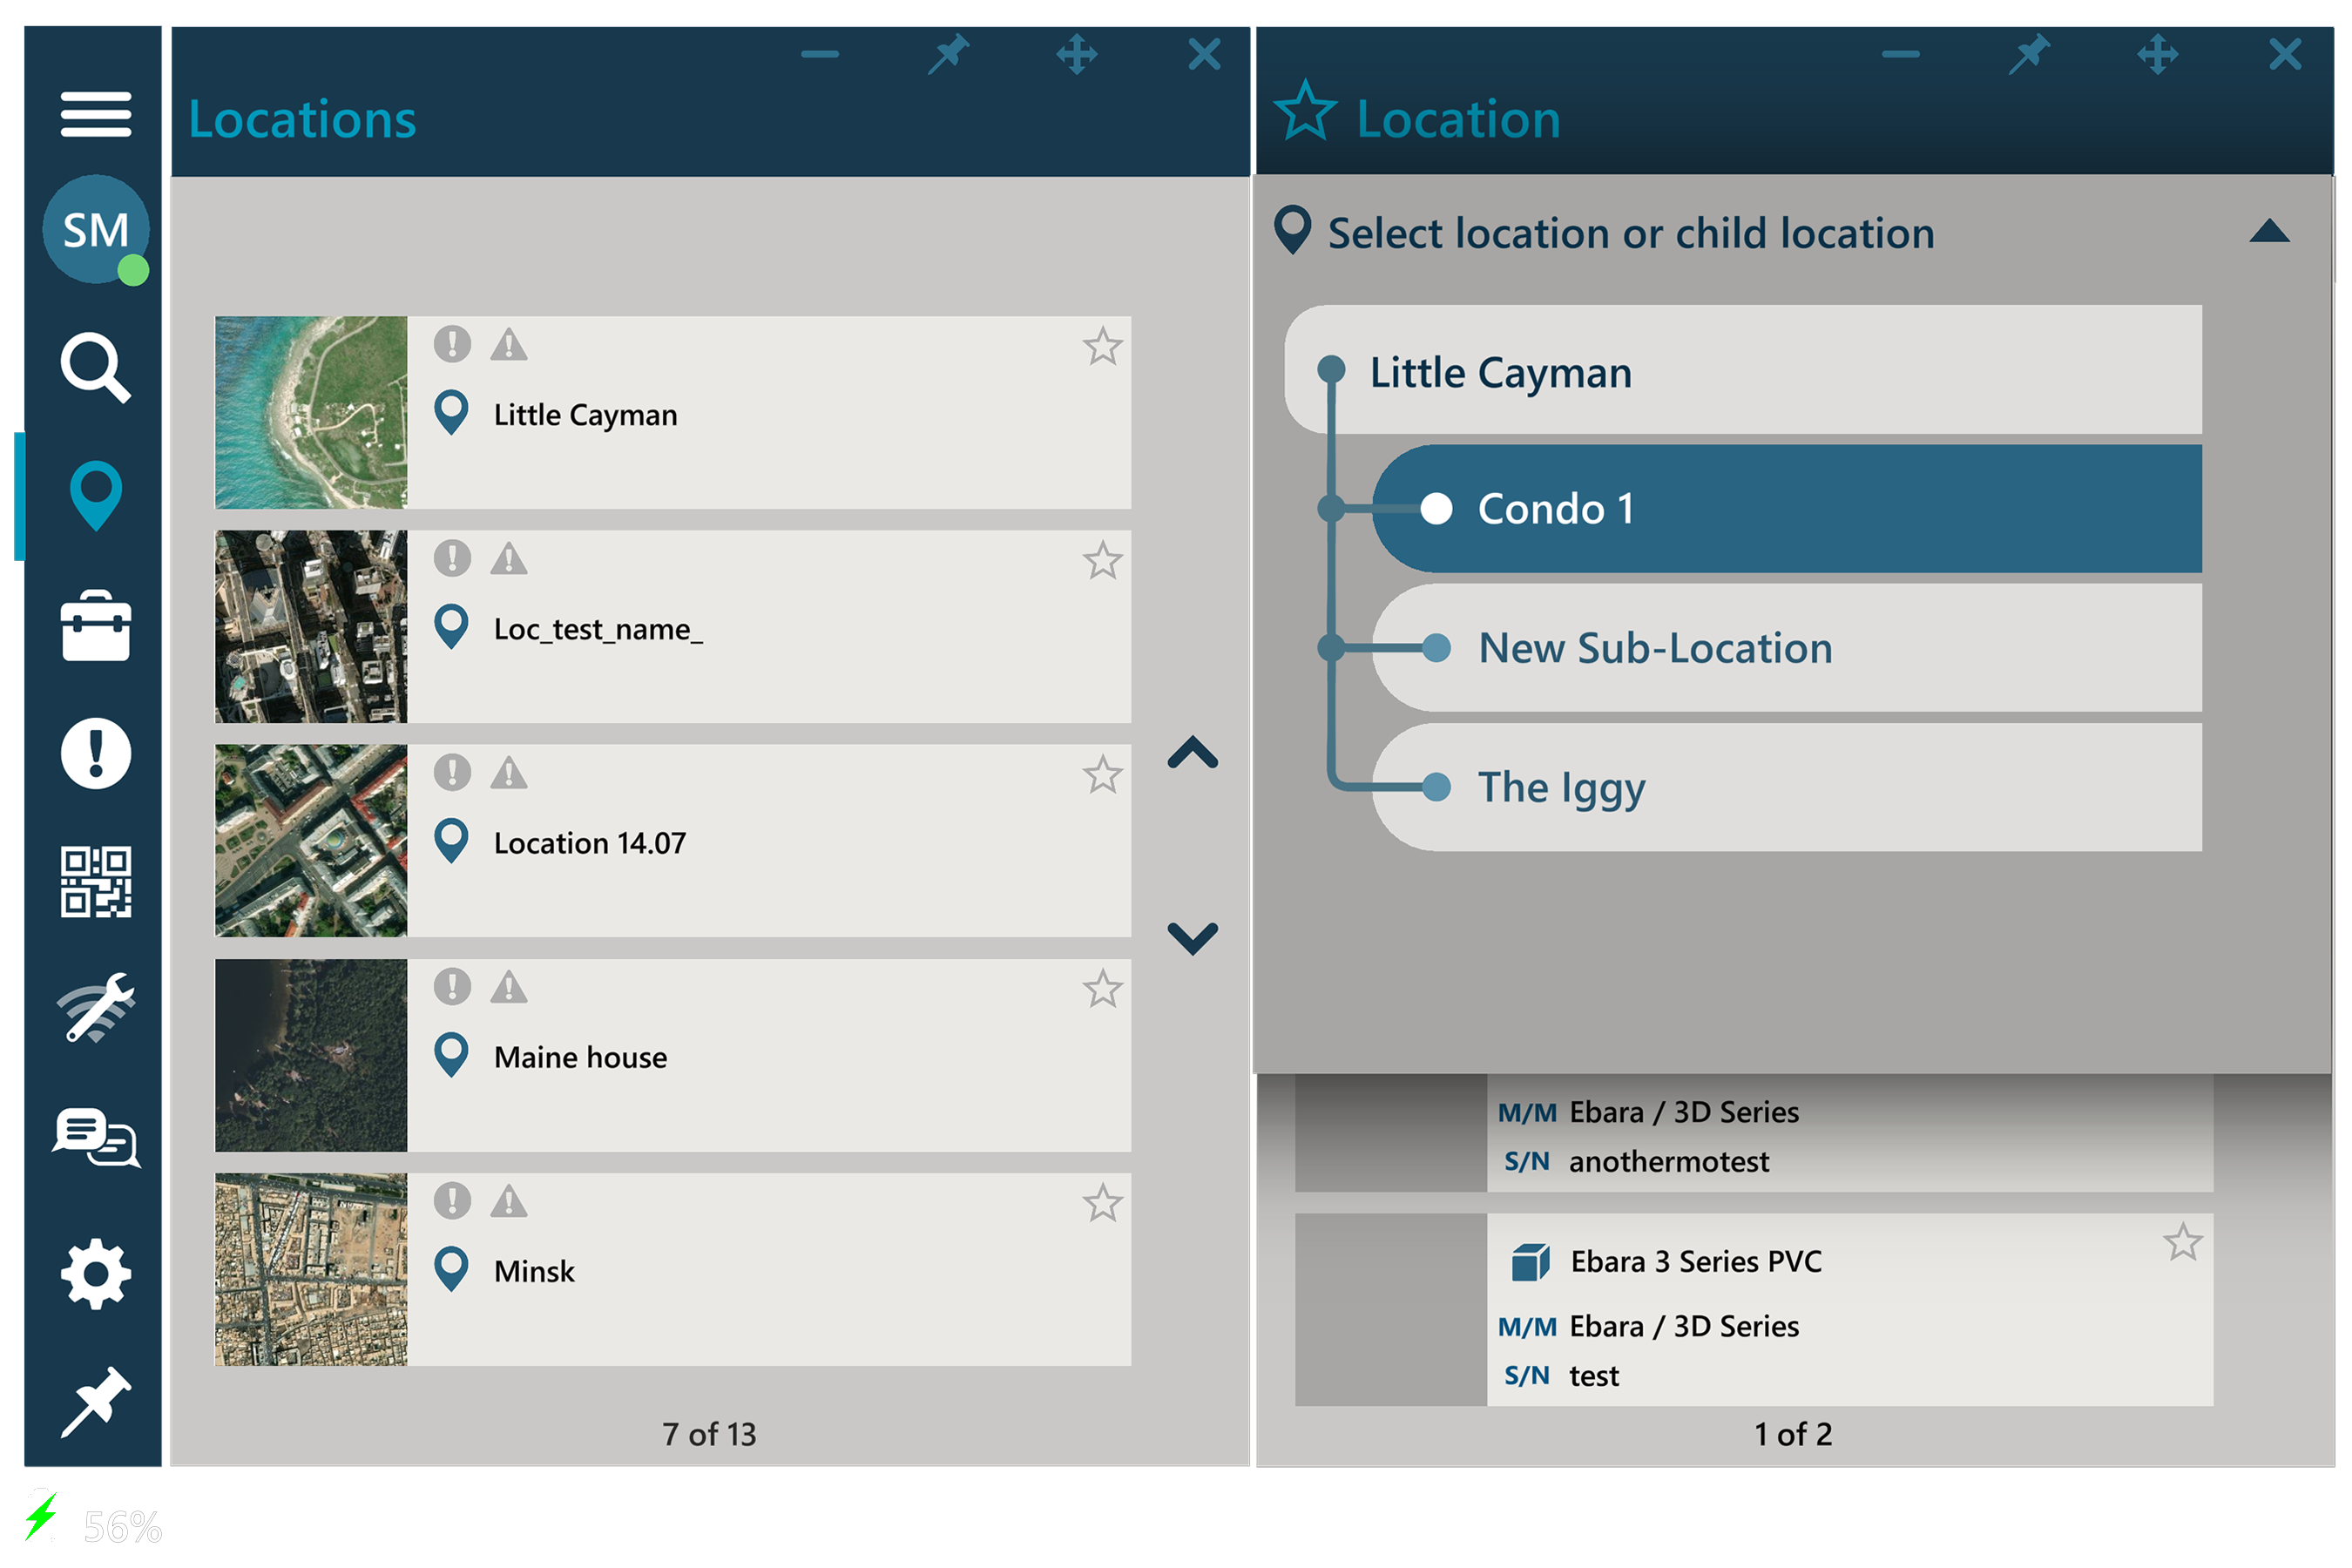
If a Location has Child Locations, a dropdown list will be available from the Location name display, allowing users to select a Child Location and view the data for that location. It is important to note that the data in a Parent Location does not roll up all of the Child Locations’ data, each is treated independently in this view. 
Using the Locations detail window
The Locations detail window includes summary level data that displays status for Work, Alerts, and Open Faults. Each has a button, that when selected, will open a new window with the reported data for that Location.
- Unassigned Jobs: view the number of ‘Unassigned Jobs’ for the Location. Select the button to open the Jobs window with all Jobs with ‘Unassigned’ status for the Location.
- Assigned Jobs: view the number of ‘Assigned Jobs’ for the Location. Select the button to open the Jobs window with all Jobs with ‘Assigned’ status for the Location.
- In Progress Jobs: view the number of ‘In Progress Jobs’ for the Location. Select the button to open the Jobs window with all Jobs with “In Progress” status for the Location.
- Alerts: view the number of Alerts for the Location. Select the button to open the Alerts window displaying all Alerts for the Location.
- Open Faults: Selecting this will open the Assets tab, and filter the Asset list to show only those with open Faults.
 Assets tab: select the Assets tab to view an unfiltered list of all Assets associated to the Location.
How useful was this post?
Average rating 0 / 5. Vote count: 0


